
The Guest Bathroom, a room that during covid is only used when we want a change a scenery from our other bathrooms. In a normal year, it would see many guests from far a wide!
This was the first full room reno that I have done, plumbling and all! It definitely came with challenges, as all renos do. But, I had a blast doing it….my husband will say I live with rose coloured glasses on when reflecting about the past and that I never recall all the struggles and frustrations. Not a terrible way to live, but I will try my best to reflect on some of the challenges I faced in this guest bath refresh.
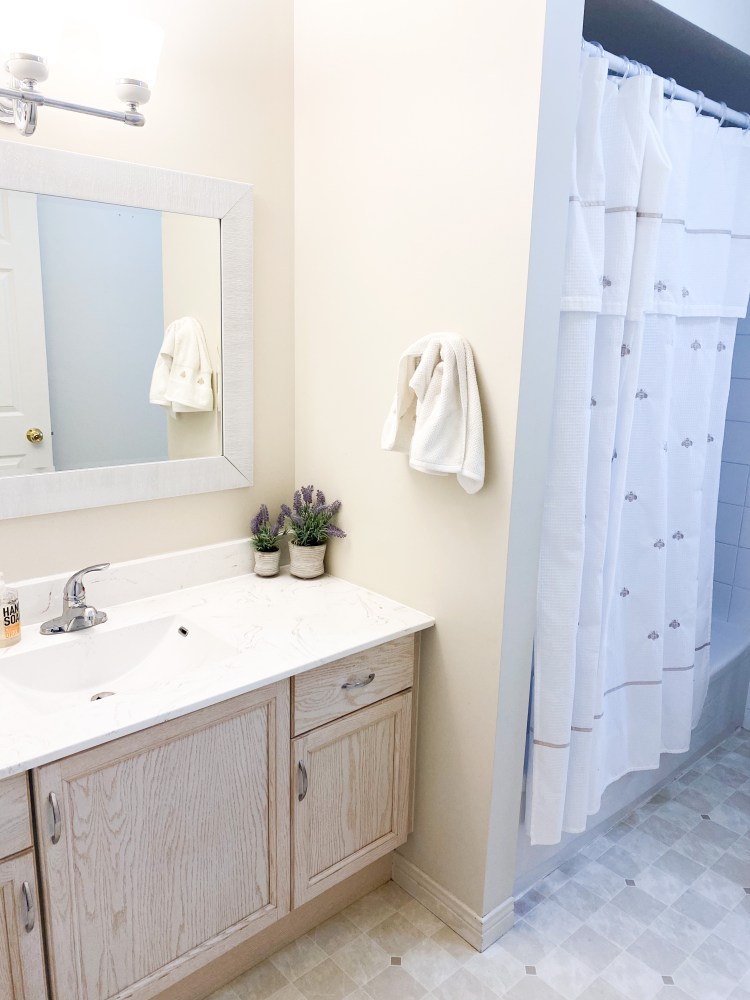
Out with the old
Although the previous bathroom looked OK. It was tired, dated and had a colour pallete that I didn’t love (not a huge beige fan here). Also, they installed the bathroom light upside-down (perfect excuse for a reno, right?)

Paint Time!
I’d say picking out the right paint colour is one of my biggest challenges. I can’t empahsize enough, do your research! Get on that pinterest and look for colours that have been used in similar rooms, with similar lighting because paint chips are impossible!
If you are painting in a bathroom with a shower, make sure it get the appropriate paint for moisture. I used Aura Bath and Spa on the ceiling (it is the only matte, bathroom paint on the market, as far as I know.) I used Regal Select in Eggshell for the walls which is recommended for bathrooms to avoid mold and mildew.
I went with a cooler gray (Wickham Gray – Benjamin Moore) as my tiles in the bath and on the floor were very stark white. When looking at paint chips, I have learned to go one shade lighter from what is on the chip. In a room with very little natural light the paint is going to look much darker than you expect.
I started with painting my trim (Cloud White – Benjamin Moore) and ceiling first. This prevented a lot of back and forth with touch ups at the end. The nice thing about putting in a new floor, I didn’t have to worry about taping. I got to be a little wreckless.
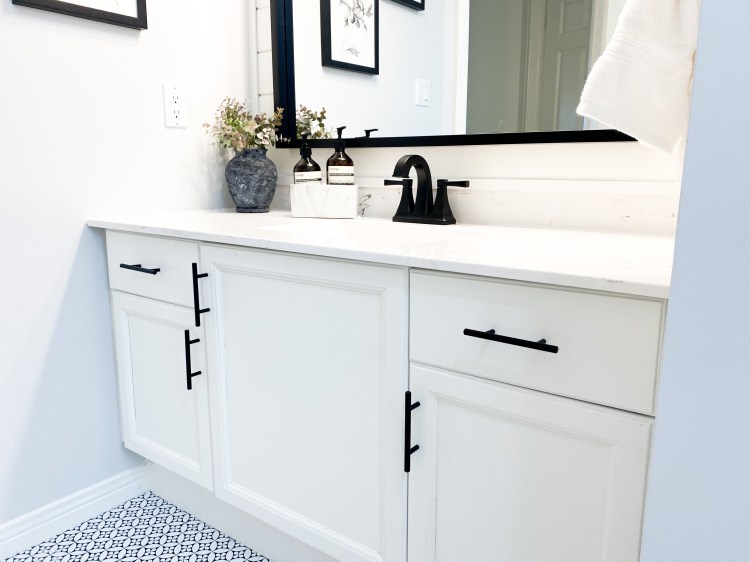
Cabinets!
For the cabinets, I primed them and then used the same trim paint. It is a special paints specifically for cabinets and trim with a higher gloss for easy cleaning. Using a small foam roller gave me the smooth finish.

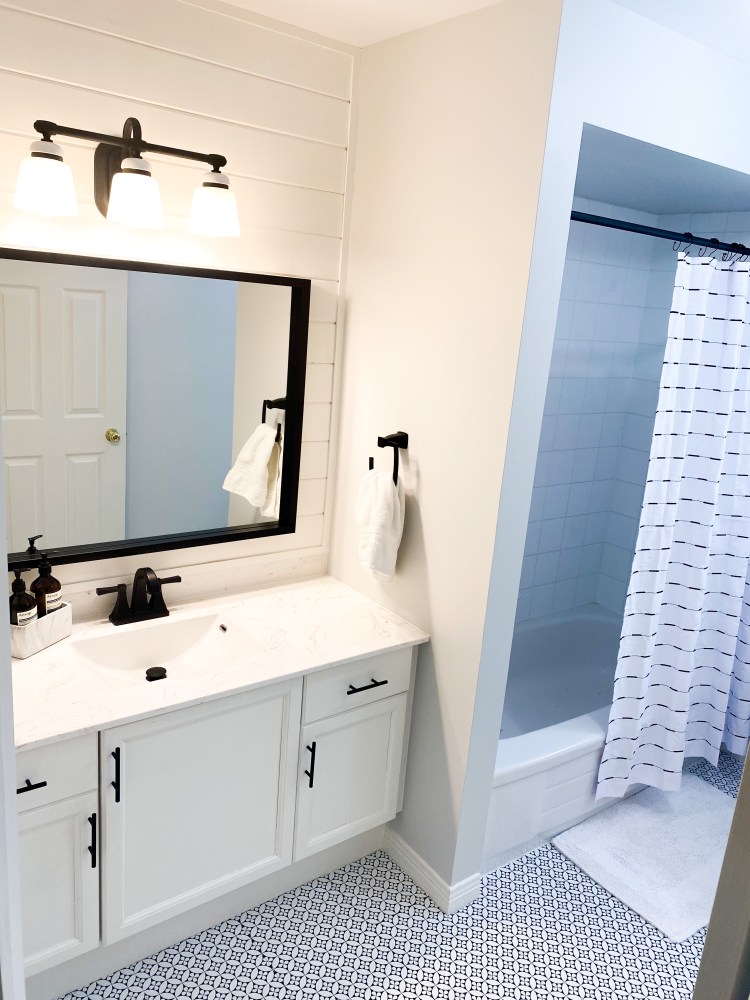
I have gotten a lot of questions about the floors. These are Floor Pops. Easy to install, vinyl floor tiles. The original floors were just flat laminate floors, so I was able to popped the new ones right on top.
I have read lots of great reviews on these floors. The adhesive seems strong, so I am very curious to see how they hold up. Keep in mind, this is a very low traffic room so I am hoping they last us a while. Definitely a great, inexpensive option for flooring. I was able to tile this whole room for $75 CAD.
Struggles included: lots of awkward cutting and because I chose a smaller pattern, it was sometimes a struggle to match up the patterns on the tiles perfectly. These do have a disclaimer that the pattern my vary slightly from tile to tile. This job took about 4-5 hours.
Make sure you have a good utility knife!

Once I finished the flooring, it was time for a new toilet!
This part I was most nervous about. So many people mention how they would never attempt plumbing jobs because so much could go wrong. I will admit, I still get nervous to use the new toilet because I don’t completely trust myself….but so far so good!
This install was actually much easier than I thought it was going to be. Thanks to Home Depot for their great “How To” Video it was super easy. I purchased the Fluidmaster Better Than Wax Toilet Seal rather than a traditional wax seal. Wax seals are not forgiving and unless you place the toilet on it perfectly the first time, you’ll be buying yourself a new wax seal. This seal allows you to readjust if needed, which came in handy as a frist-time installer.


A few more upgrades
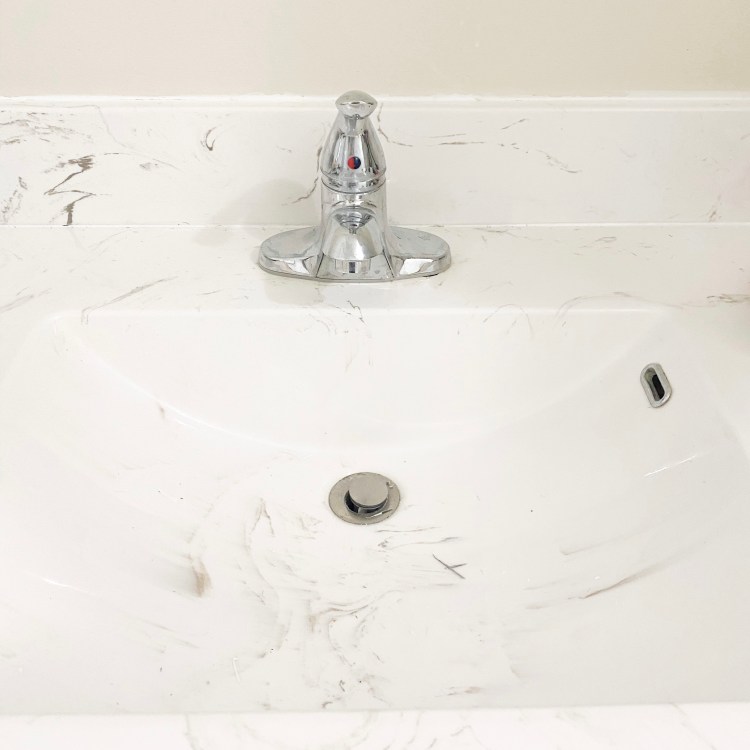
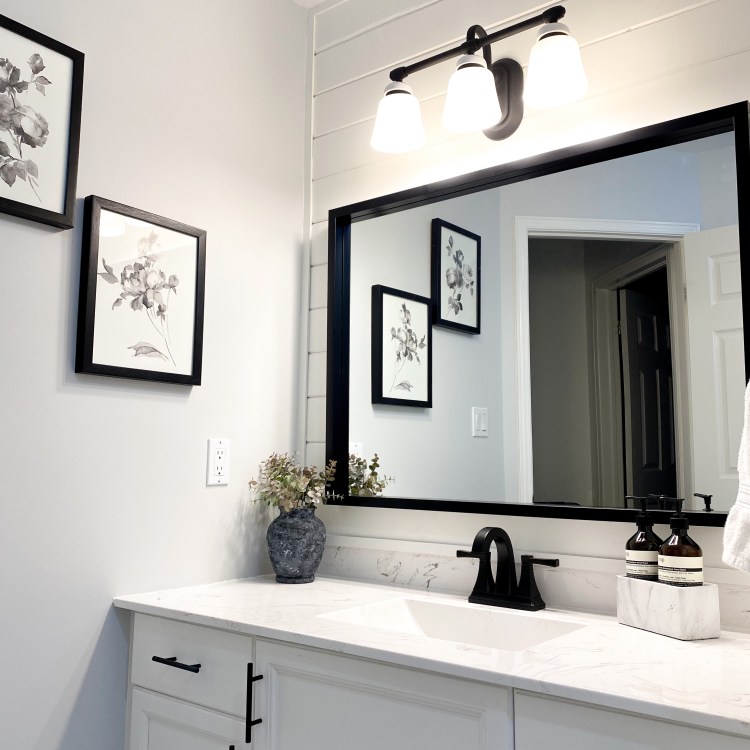
- Faucet: Pfister – Halifax Centerset
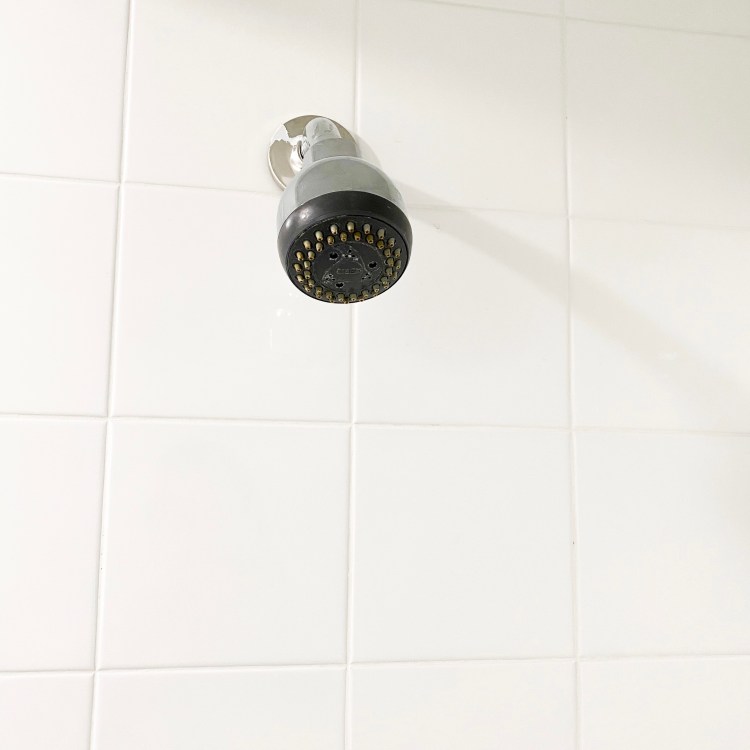
- Shower head: Moen – Attract Megnetix Dual
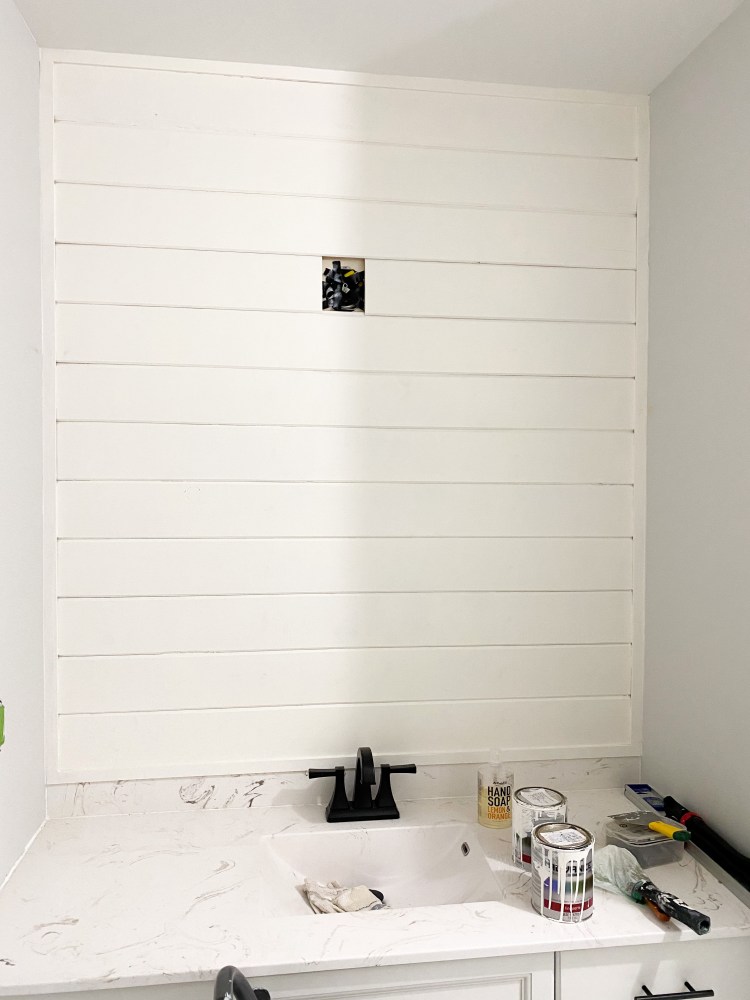
What’s a reno without a little shiplap?
I used knotty pine, tounge and groove boards. The downside to knotty pine are the knots. You will need to prime the crap out of the boards and put a couple good, thick coats of paint to avoid having the knots in the wood bleed through. Knotty pine also soaks the paint right up. So be prepared to do 3-4 coats of primer/paint. I painted my boards before putting them up.
Because we all know walls are never perfectly straight, I trimmed the wall out with 5/16 In. x 1 1/16 In. finger jointed pine trim.
Other Small Little Jobs and Item Links
- I refreshed the grout using the Rejuvenate White Grout Restorer Marker
- 30 x 40 Black Satin Mirror
- Cabinet Pulls
- I spray painted the chrome light using Rust-Oleum Flat Black Spray Paint
- Shower Curtain – Bouclair
- Towel Hook/Toilet Roll Holder – Moen
- Framed Flower Prints – HomeSense

One thought on “Guest Bath Refresh”